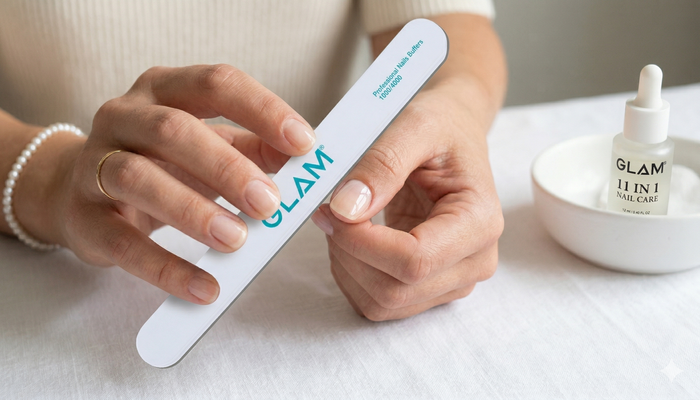
How to Use a Nail Buffer for Natural Shine (Step-by-Step Guide)
Related Posts
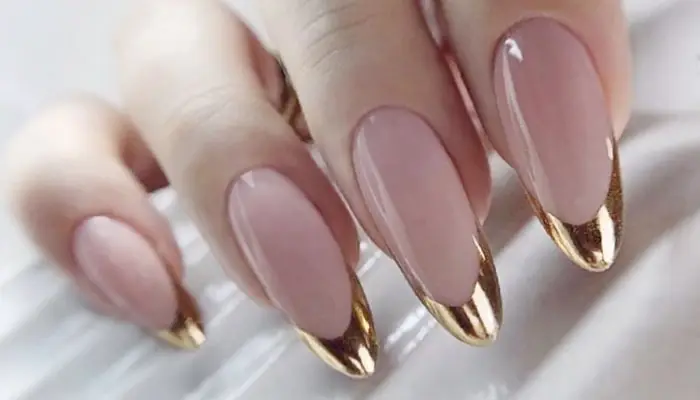
Radiate New Year Vibes: 5 Nail Designs to Slay 2024!
Greetings, style mavens, as we step into the realm of 2024! As we stand on the cusp of a fresh start, why not channel your enthusi...