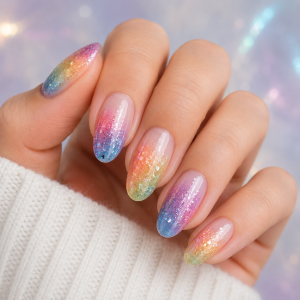
Monsoon Nail Art Ideas That Stay Beautiful Longer
Related Posts
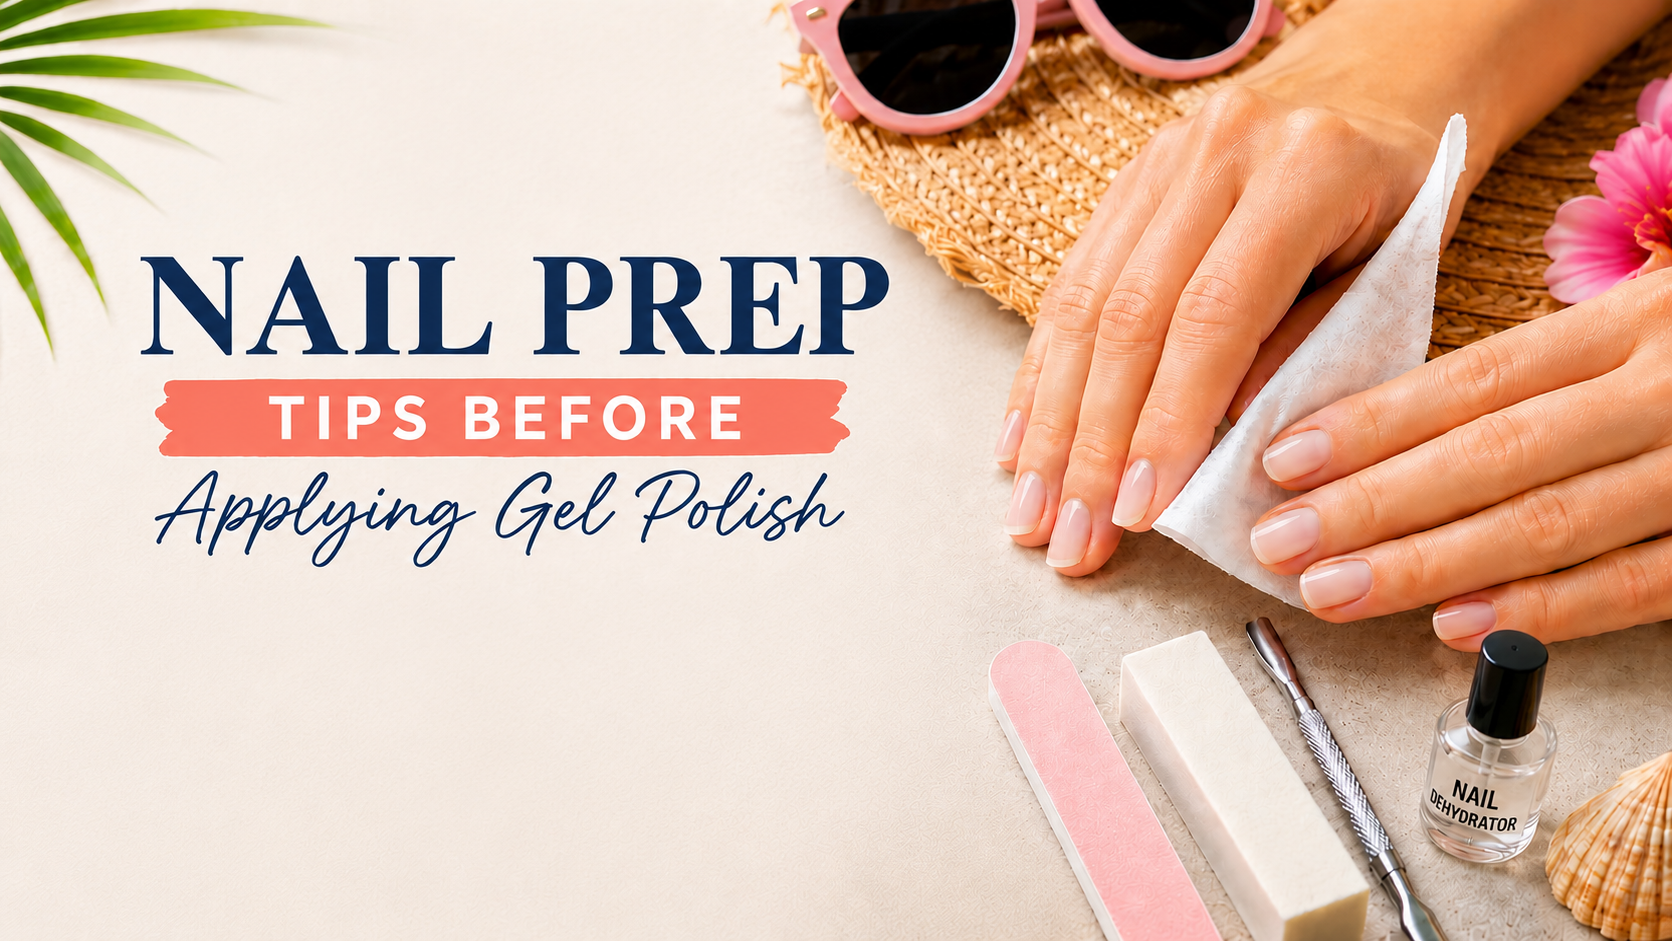
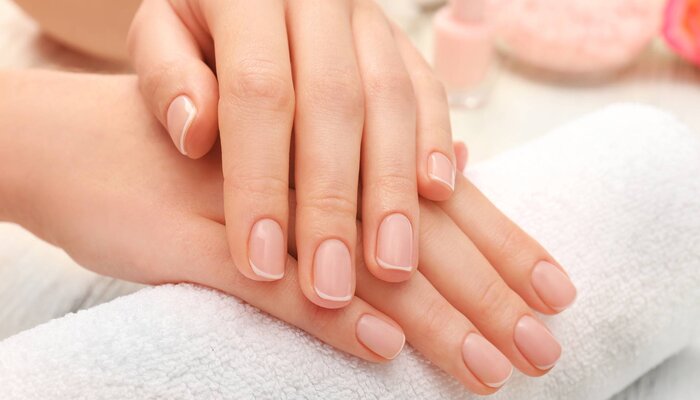
Summer Nail Prep Tips Before Applying Gel Polish
Summer is the season when gel manicures are put to the test. Heat, humidity, sunscreen, saltwater, and frequent handwashing can all aff...
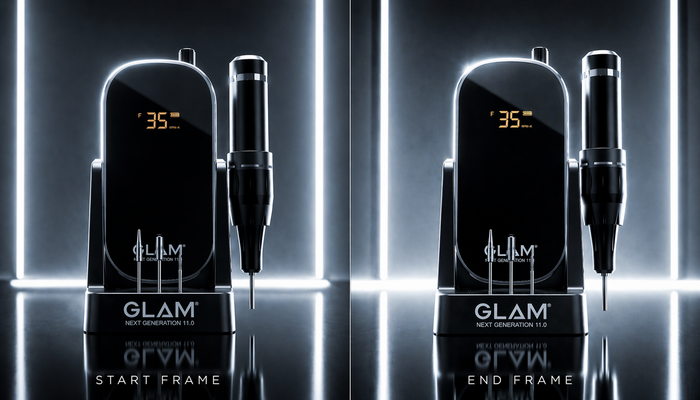
How to Use a Nail Buffing Machine Without Damaging Nails
Learn how to use a nail buffing machine safely without damaging natural nails. This guide covers beginner-friendly buffing tips, proper techniques, and how the Glam Buffing Machine 11.0 helps achieve smooth, salon-quality nails with better control and precision.
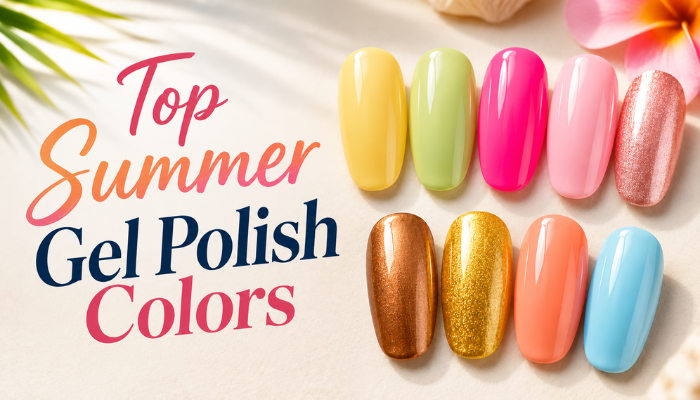
Top Summer Gel Nail Polish Colors to Try This May in 2026
Stay ahead of the trends with the top summer gel polish colors for 2026. From soft pastels to bold neon shades, discover the perfect nail colors for vacations, beach days, and stylish summer manicures.
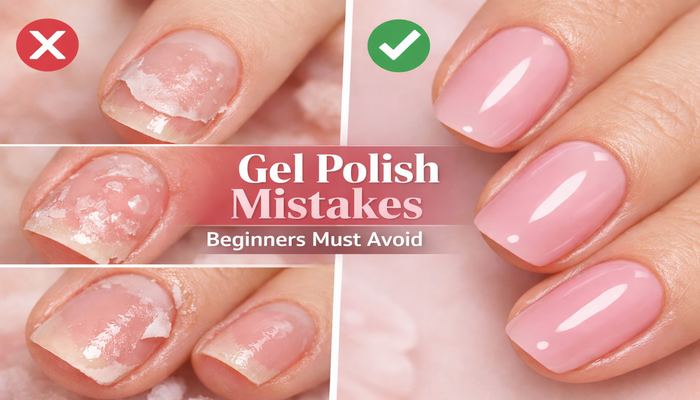
Beginner Mistakes to Avoid While Using Gel Nail Polish | Easy Guide
Gel nail polish has become a favorite for beginners and professionals alike because of its long-lasting shine and salon-like finish.
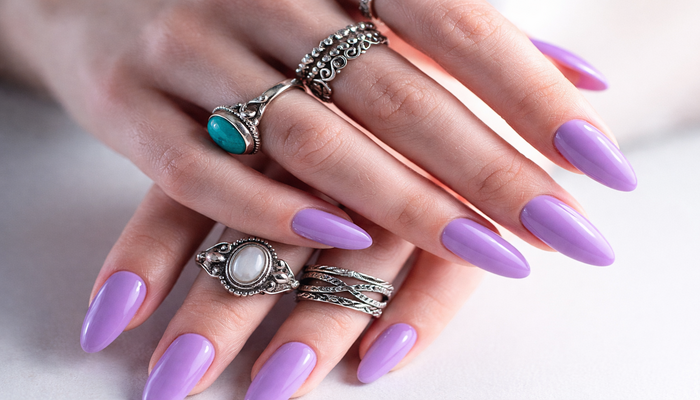
Gel Nail Polish Starter Guide: What Beginners Must Know
Gel nail polish has completely transformed the nail industry, offering long-lasting shine, durability, and salon-like results even for ...
Get Strong, Glossy Nails with GLAM Quick Nail Dryer & Hardener
Tired of waiting endlessly for your nail polish to dry? Or dealing with brittle, weak nails after every manicure? GLAM brings the perfe...
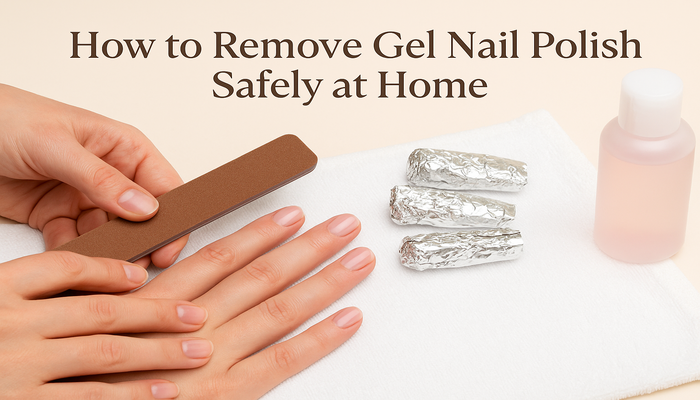
How to Remove Gel Polish Safely at Home
Gel nail polish looks amazing and lasts longer than regular polish—but removing it the wrong way can damage your natural nails. Don’t w...
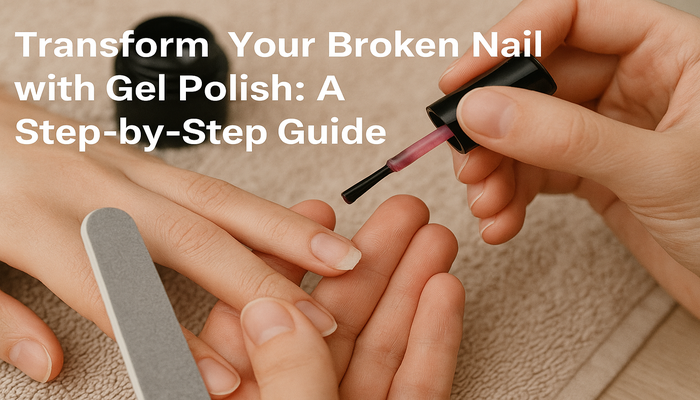
Transform Your Broken Nail with Gel Polish: A Step-by-Step Guide
We've all experienced the frustrating moment when a beloved nail breaks unexpectedly. It can feel like a setback, especially if you've ...
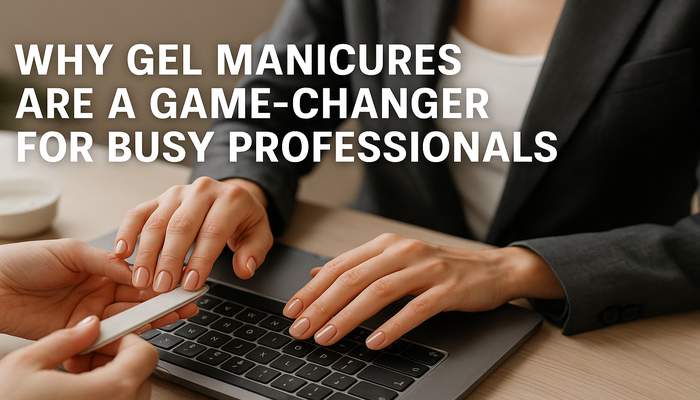
Why Gel Manicures Are a Game-Changer for Busy Professionals
In today’s fast-paced world, where juggling meetings, deadlines, and personal responsibilities is the norm, busy professionals are cons...
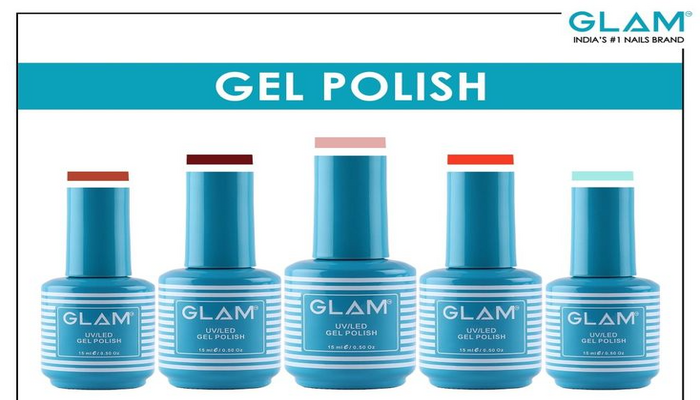
The Rise of Gel Nail Polish and Its Benefits
In the world of nail beauty, gel nail polish has emerged as a revolutionary trend. What was once a salon-exclusive luxury is now an eve...
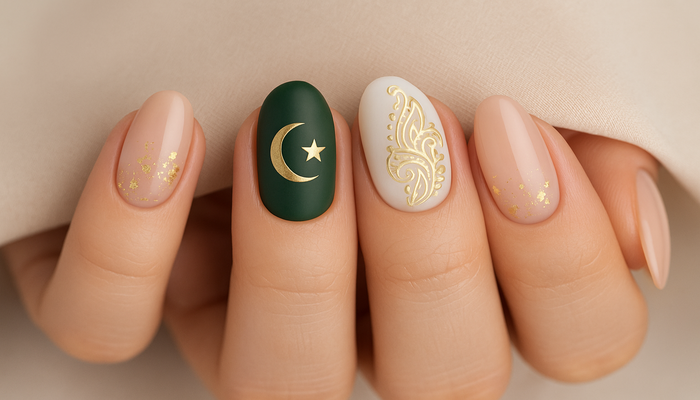
Elegant Gel Polish Nail Art Ideas for a Beautiful Ramadan Eid 2025
Ramadan is a time of reflection, devotion, and deep spiritual connection. And as Eid approaches, there's a quiet excitement in the air—...

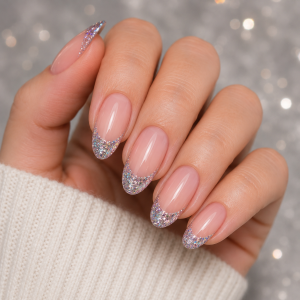
Color Pop Nails: Stunning Gel Polish Nail Art Ideas for Holi 2025
Holi—the festival that turns the world into a canvas of colors—is just around the corner. And while you’re picking out your white kurti...