Switch Up Your Look with These Trendy Press-On Nail Designs
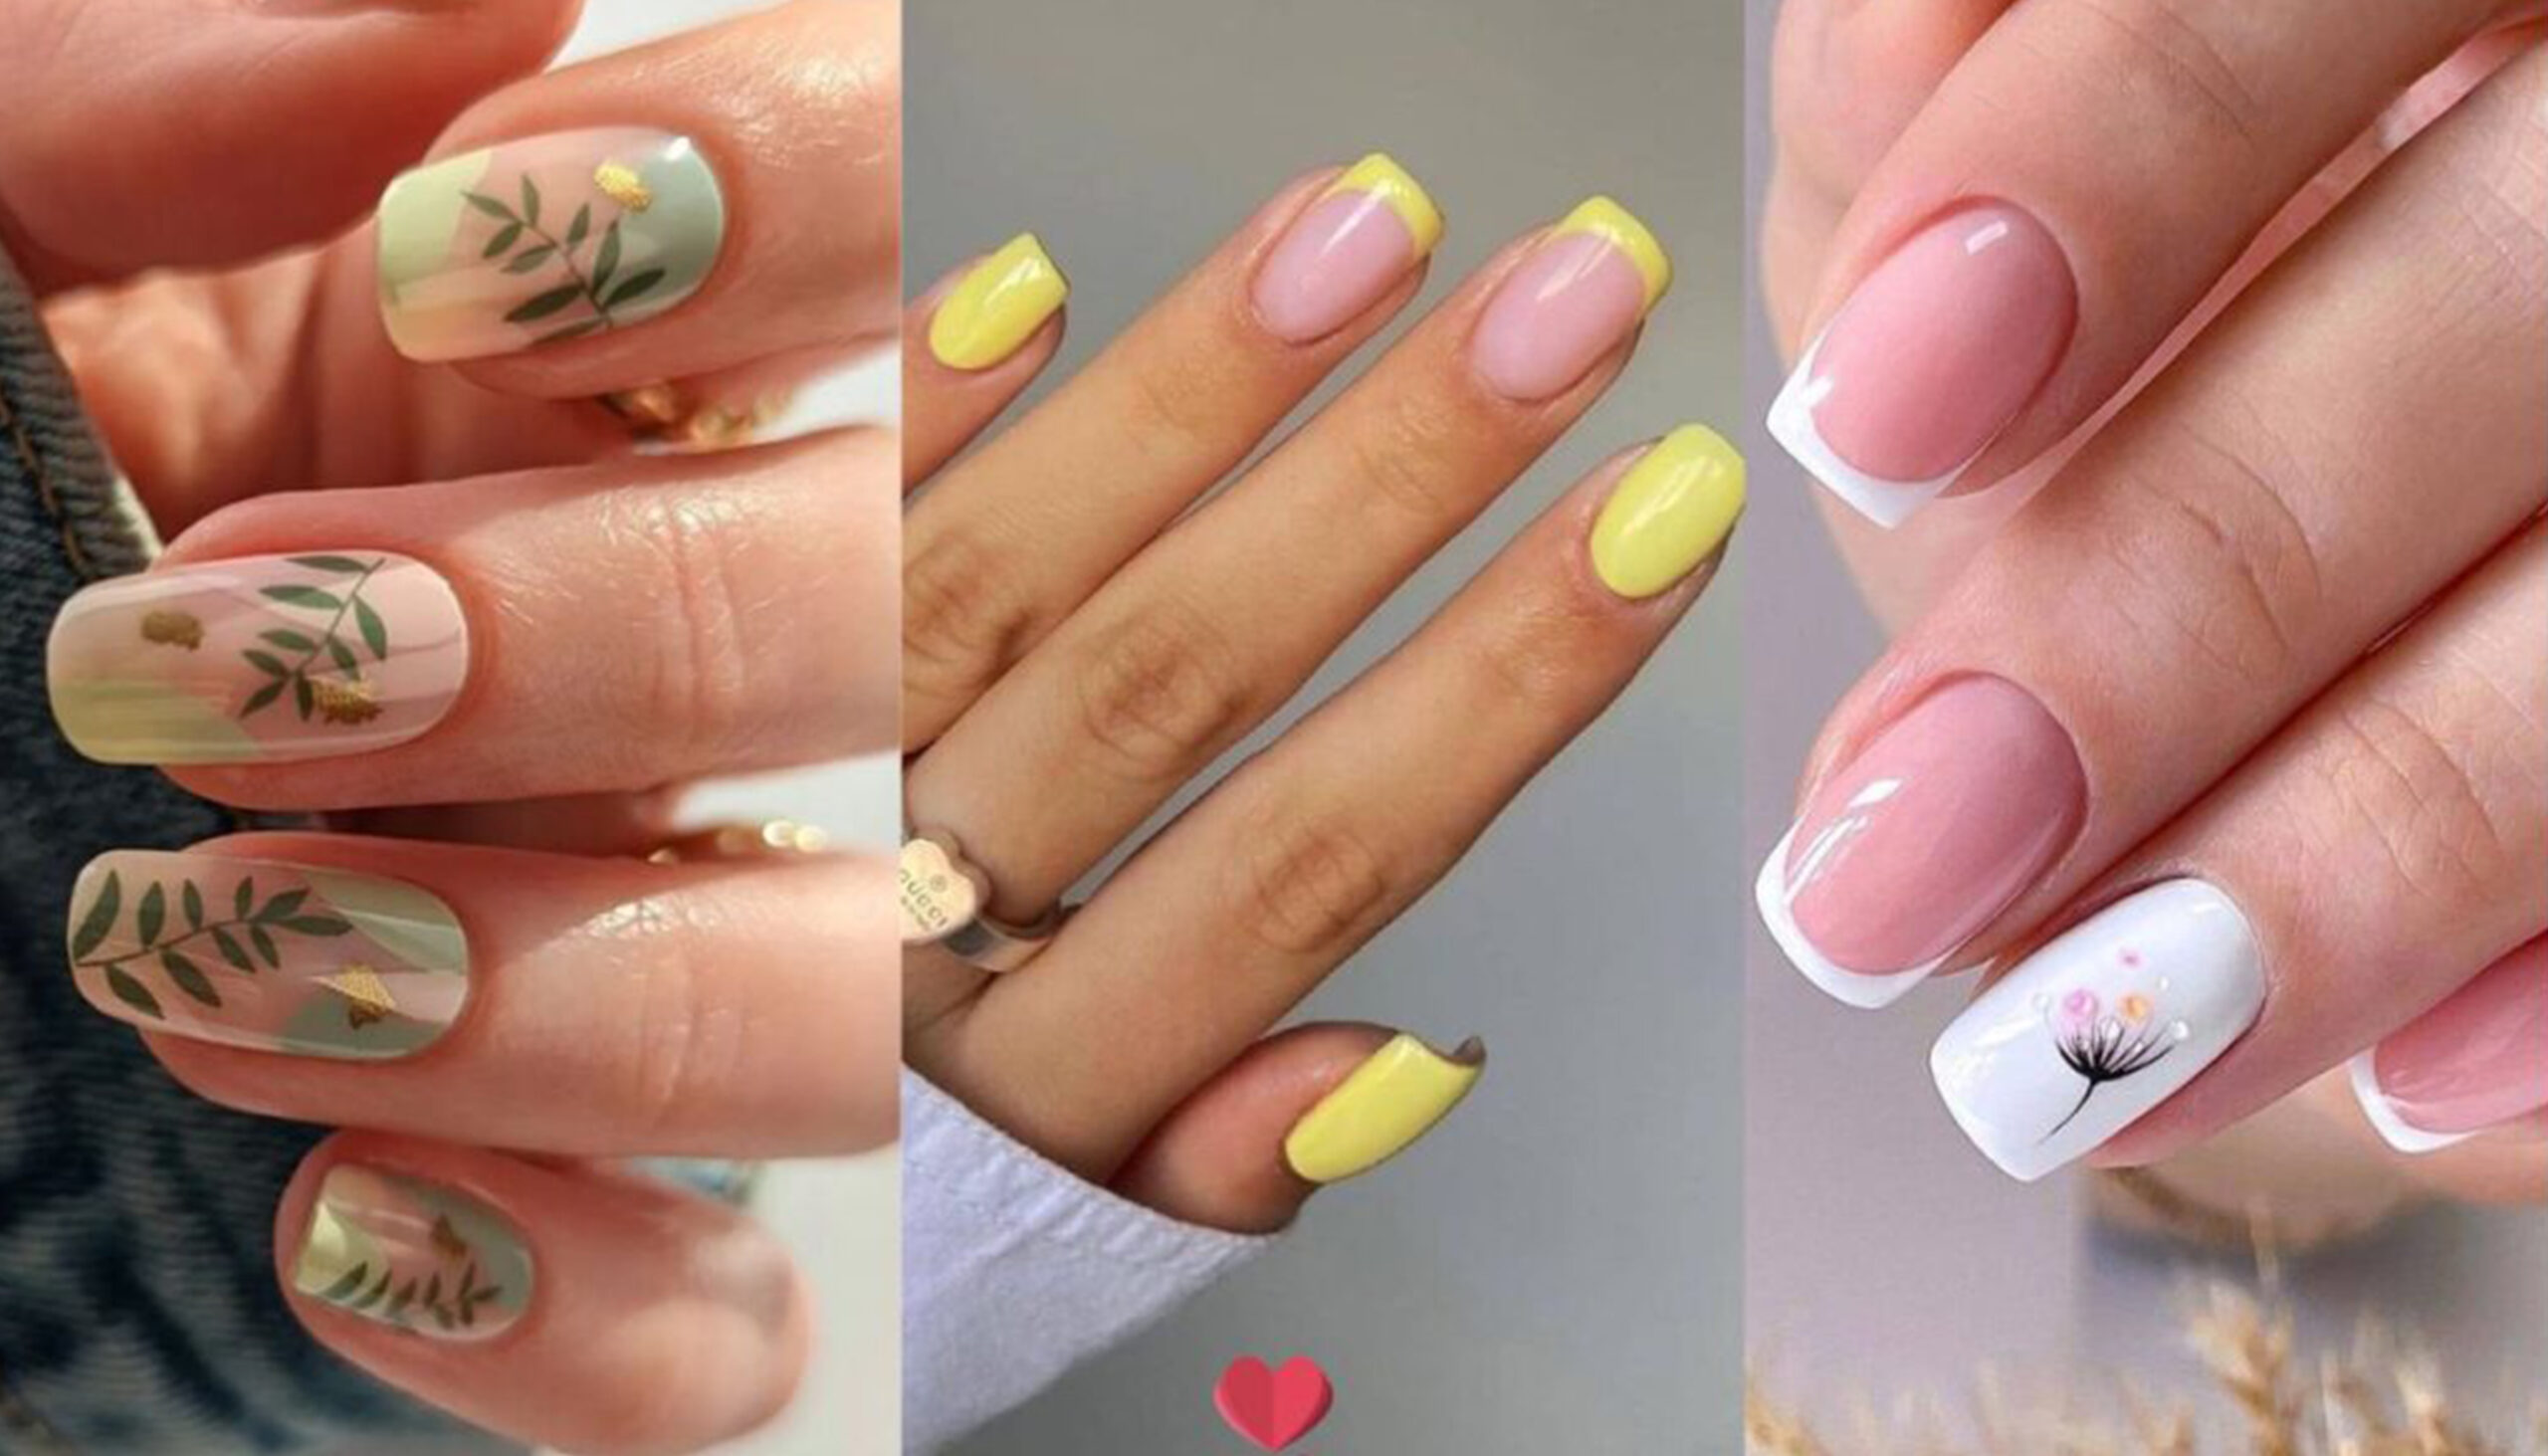
If you’re someone who loves experimenting with your look but doesn’t want to commit to a long-term beauty trend, then you’ll be happy to know that press-on nails are a must-try for you. In recent years, press-on nails have made a comeback, and for good reason. Here are just a few reasons why press-on nails are a trend that you need to try.
1. Convenience
One of the most significant advantages of press-on nails is their convenience. With press-on nails, you can achieve a salon-quality manicure in just a few minutes without having to leave your home or spend a fortune at a nail salon. All you need is a set of press-on nails, some adhesive, and a few minutes of your time.
2. Variety of Designs
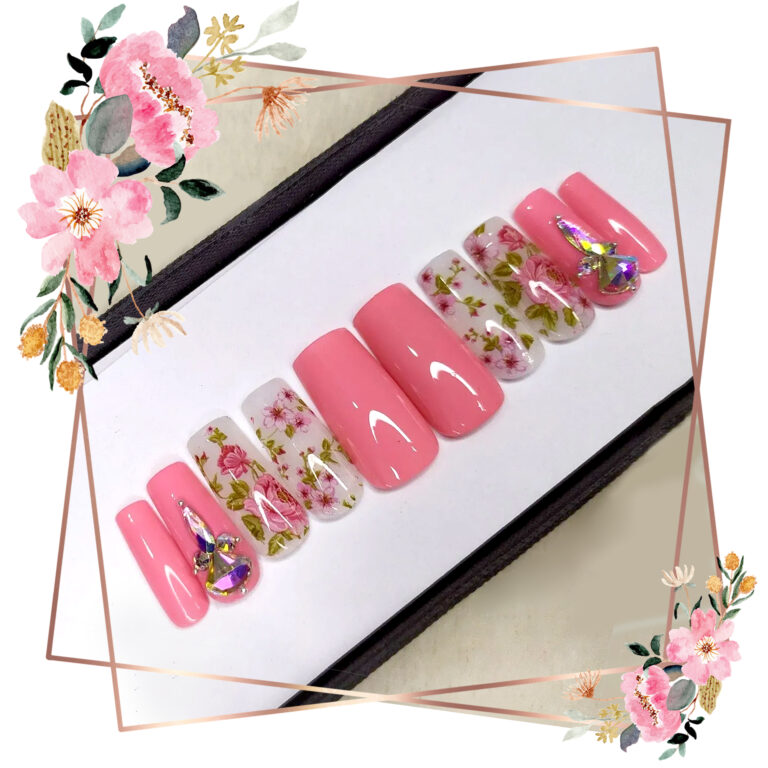
Gone are the days when press-on nails only came in a few plain designs. Nowadays, press-on nails are available in a wide variety of designs, from bold and glittery to natural-looking and understated. Whether you’re looking for something classic or something bold and trendy, there’s a set of press-on nails that’s perfect for you.

3. Affordability
Another great thing about press-on nails is their affordability. Compared to traditional acrylic or gel nails, press-on nails are a much more budget-friendly option. You can achieve a high-quality manicure without breaking the bank.

4. Gentle on Nails
Unlike traditional acrylic or gel nails, press-on nails are much gentler on your natural nails. They don’t require harsh chemicals or UV lamps, so you can switch up your look as often as you like without damaging your nails. Plus, because they’re easy to remove, you don’t have to worry about any long-term damage to your natural nails.

5. Versatility
Press-on nails are incredibly versatile. You can wear them for a special occasion, or you can wear them every day if you want to. They come in a variety of shapes and sizes, so you can achieve a natural-looking manicure that complements your hands and skin tone perfectly.

Here’s a step-by-step guide on how to apply press-on nails:
Step 1: Prep Your Nails Start by removing any old polish and cleaning your nails with a nail polish remover. This will ensure that your nails are clean and free of any oils or residue that may prevent the adhesive from sticking properly.
Step 2: Select Your Nails Choose the press-on nails that best fit your nail size and shape. Most press-on nail sets come with a variety of sizes, so make sure to choose the right size for each nail. If you’re unsure about which size to choose, you can always measure your nails and compare them to the sizes in the pack.
Step 3: Apply Adhesive Most press-on nail sets come with adhesive tabs or glue. Apply the adhesive to the back of the press-on nail, making sure to cover the entire surface. Be careful not to use too much glue, as this can cause the nails to lift or fall off.
Step 4: Place Nails on Your Natural Nails Carefully place the press-on nails onto your natural nails, starting with the thumb and working your way to the pinky. Press down firmly on each nail for a few seconds to ensure that they’re securely attached.
Step 5: Shape and File Nails Use a nail file to shape and smooth the edges of your press-on nails. This will give them a natural look and feel. Be gentle when filing, and don’t file too much, as this can weaken the nails and cause them to break or lift.
Step 6: Apply Topcoat (Optional) If you want your press-on nails to last longer and look even more polished, you can apply a clear topcoat to seal them in place. This will also help to protect your natural nails and prevent the press-on nails from chipping or peeling.
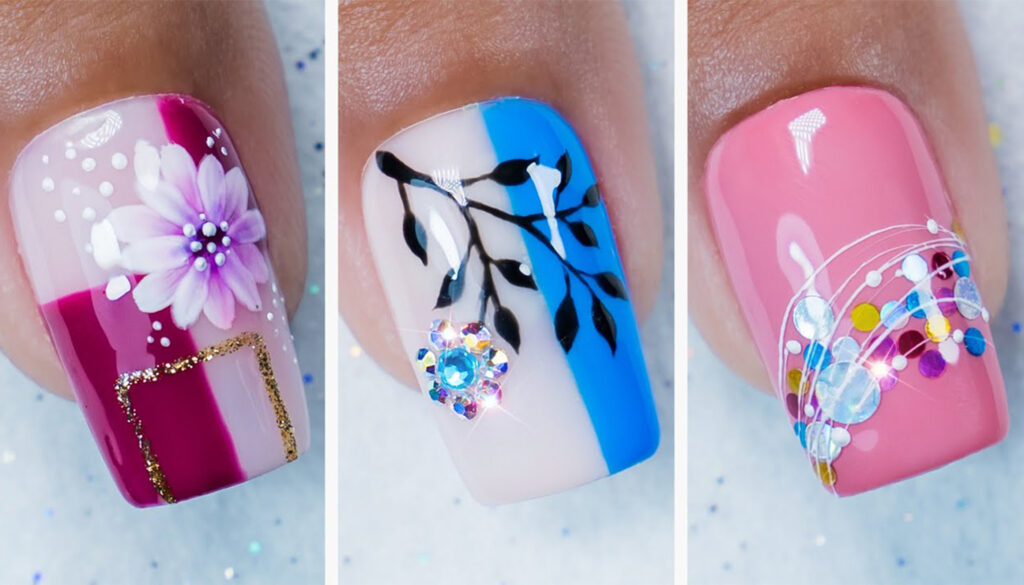
Press-on nails have become a trend because of their convenience, affordability, variety of designs, and accessibility. Whether you’re looking to switch up your look or add some extra glam to your outfit, press-on nails are an excellent option. With so many different styles to choose from, you’re sure to find a set that suits your personal style. So go ahead and try them out for yourself – you might just be surprised at how much you love them!

