There are a plethora of ways to celebrate the holidays. You can certainly decorate your home to the nines (and you will, for sure!) and rewatch some of the best holiday films. The glamour, glitter, and glamour of the holidays can also be added with some seriously glittering Christmas nail art ideas. Imagine how happy your face will be every time you glance down with those shiny Christmas nails with their playful designs on top of the season’s hottest hues. Raise your perfectly groomed hand if you agree!
From simple Christmas nail art ideas, we’ve included designs for a variety of skill levels. We’ve included useful hints, a list of products you’ll need, and links to step-by-step tutorials for easy DIY Christmas nail art ideas. Check out these great winter nail colors, which range from fashionable to classic, if understated is more your thing. Whatever your level of comfort, there is something here for you to attempt in order to really step up your Christmas game. So stock up on all the festive colors and give these Christmas nail art ideas a shot.
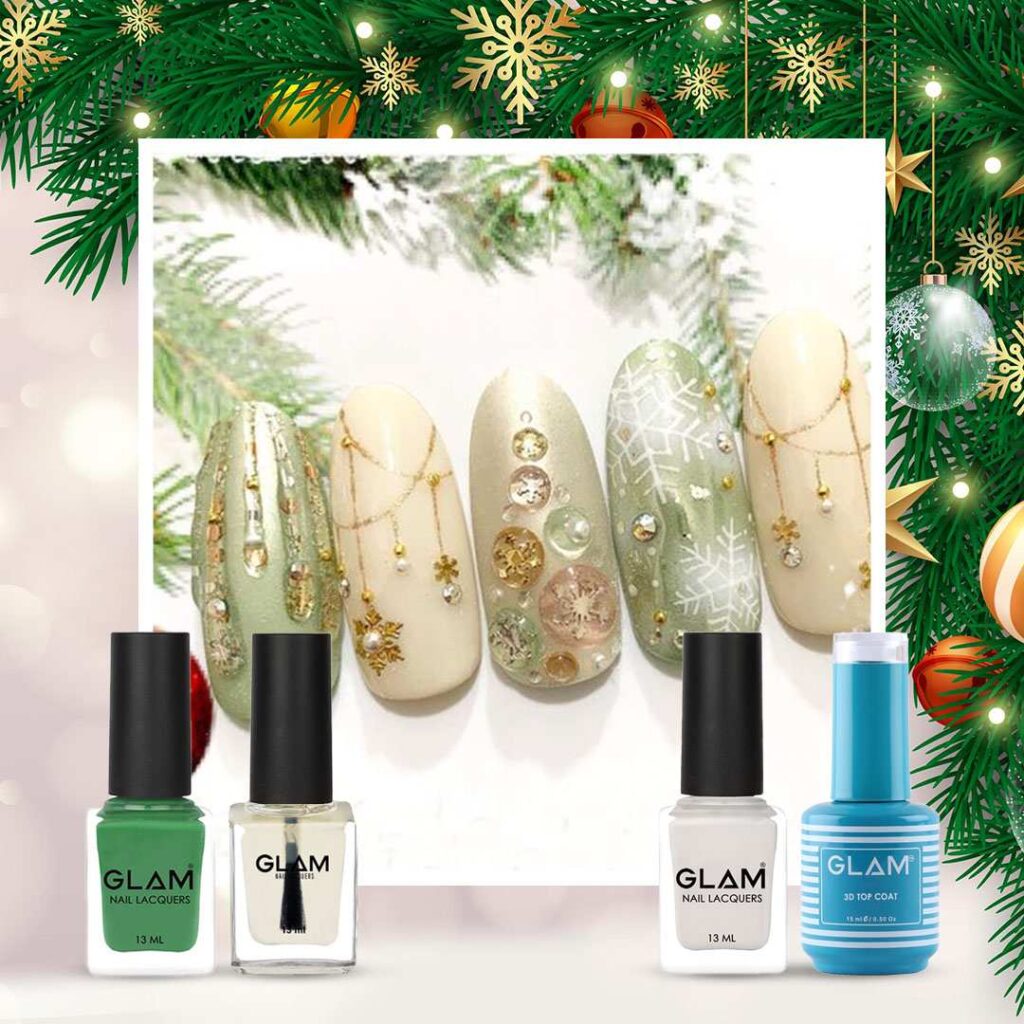
Chrome Green Christmas Nail Art
If you have a steady hand, you can execute this humorous idea at home. Don’t worry about making it flawless; just keep the designs simple and fun.
What will you need:
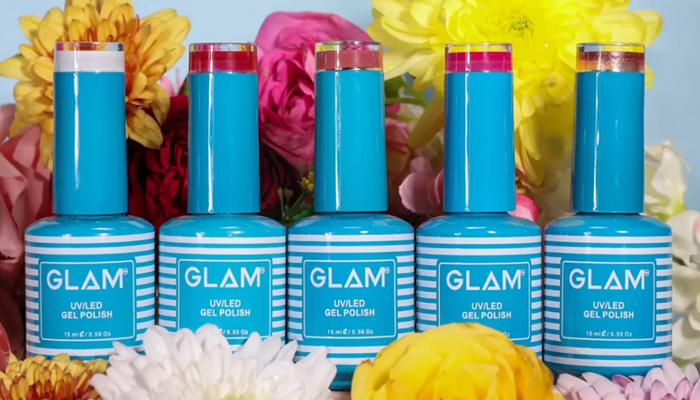
1. Glam Gel Polishes
2. Glam 3D Top Coat
3. Glam Ultra Glitter Gel
4. Glam Jewelry
5. Glam Rhinestones
6. Glam Chrome Powder
Steps
1. Paint your nails with GLAM Gel Polish in the shade Green and White.
2. Using an applicator, apply GLAM Chrome Powder on each nail.
3. Use GLAM Ultra Glitter Gel to make star patterns.
4. Use a stamper and Glam Stamping Polish to make a snowflake design on the nail.
5. Decorate your nails with jewelry and stones.
6. Finish by applying GLAM 3D Top Coat to the artwork.
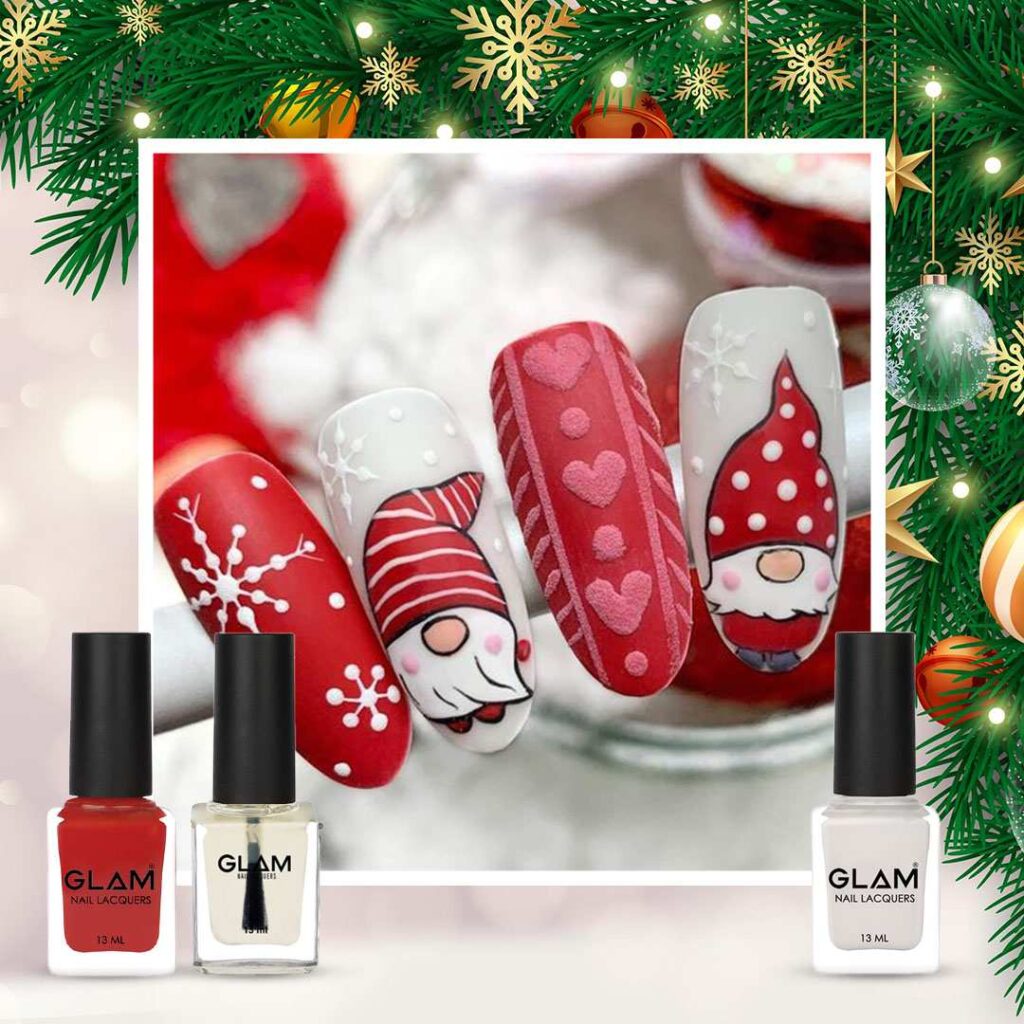
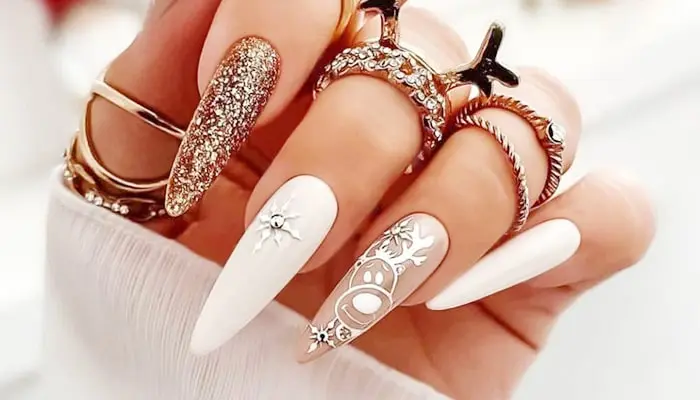
Sweet Santa Nail Art Idea
Try keeping track of how many comments this cute design will receive! You’re already on Santa’s good list just for wearing that Santa hat. You’ll probably need to make the hat yourself, but you can add snowflakes with nail stamps or stickers.
What will you need:
1. Glam Gel Polishes
2. Glam Top Coat
3. Glam Painting Gel
4. Glam 3D Powder
Steps
1. Use GLAM Gel Polish in the shade Red and White to paint your nails.
2. To give the nails a fluffy appearance, sprinkle some 3D Powder on them.
3. Use GLAM Painting Gel to create a Santa design.
4. Use the GLAM Dotting Tool to add some white dots to it.
5. Draw a snowflake pattern on the fingernail.
6. Use GLAM Top Coat to protect the artwork.
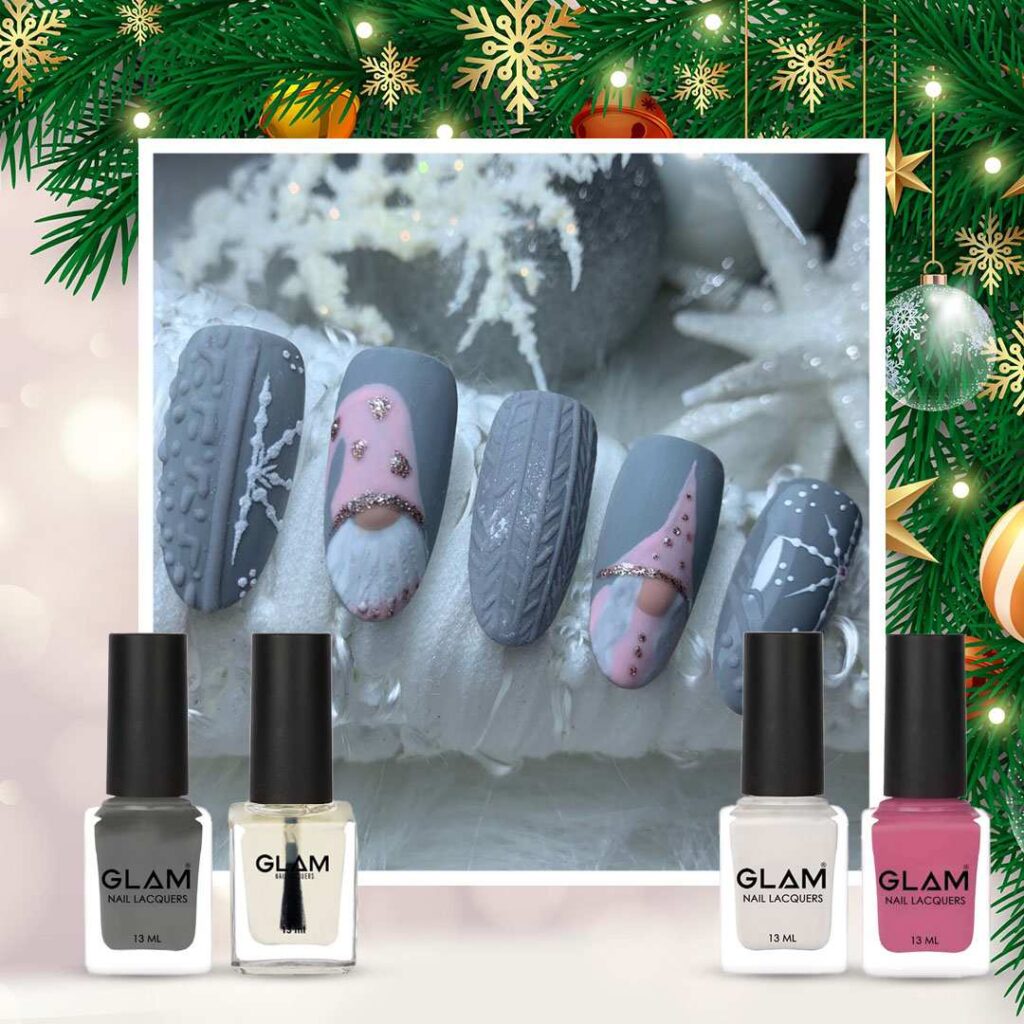
Festive Pink Two Hat Glitter Nails
In this happy manicure, glitter, holiday stripes, and little Christmas hats are alternated. Use glow-in-the-dark grey polish for the creative twist on the nails to have some fun.
What will you need:
1. Glam Gel Polishes
2. Glam Top Coat
3. Glam Painting Gel
4. Glam 3D Powder
5. Glam Ultra Glitter Gel
Steps
1. Paint your nails with GLAM Gel Polish in the shade of Grey.
2. Sprinkle some 3D Powder on the nails for some bulged out effect.
3. Create a Santa design with the help of GLAM Painting Gel.
4. Make a snowflake design on the nail.
5. Make designs with GLAM Ultra Glitter Gel on the pink Santa design.

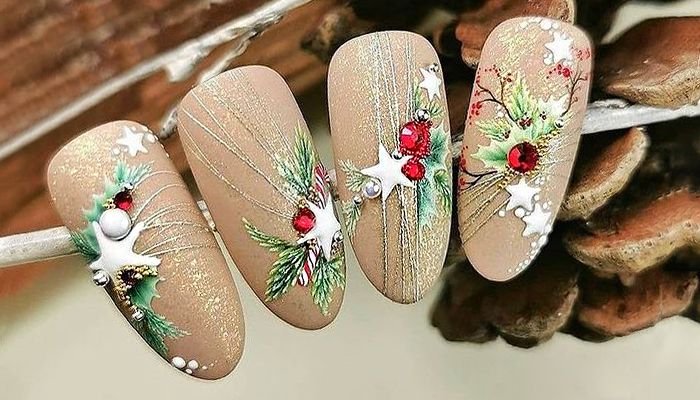
Mismatched Christmas Cherry Nails
This Christmas, make sure your nails are sparkling like holiday cherries. This concept is appealing to us because it is straightforward to execute and yields beautiful outcomes. For extra-clean edges, you can do it free-handedly.
What will you need:
1. Glam Gel Polishes
2. Glam Top Coat
3. Glam Painting Gel
4. Glam 3D Powder
Steps
1. Use GLAM Gel Polish in the shade Red and White to paint your nails.
2. To give the nails a bulging effect, add some cherries to the nails using 3D powder.
3. Use GLAM Painting Gel to create an abstract design.
4. Use the GLAM Dotting Tool to draw some white hearts on your nails.
5. Use GLAM Top Coat to protect the artwork.
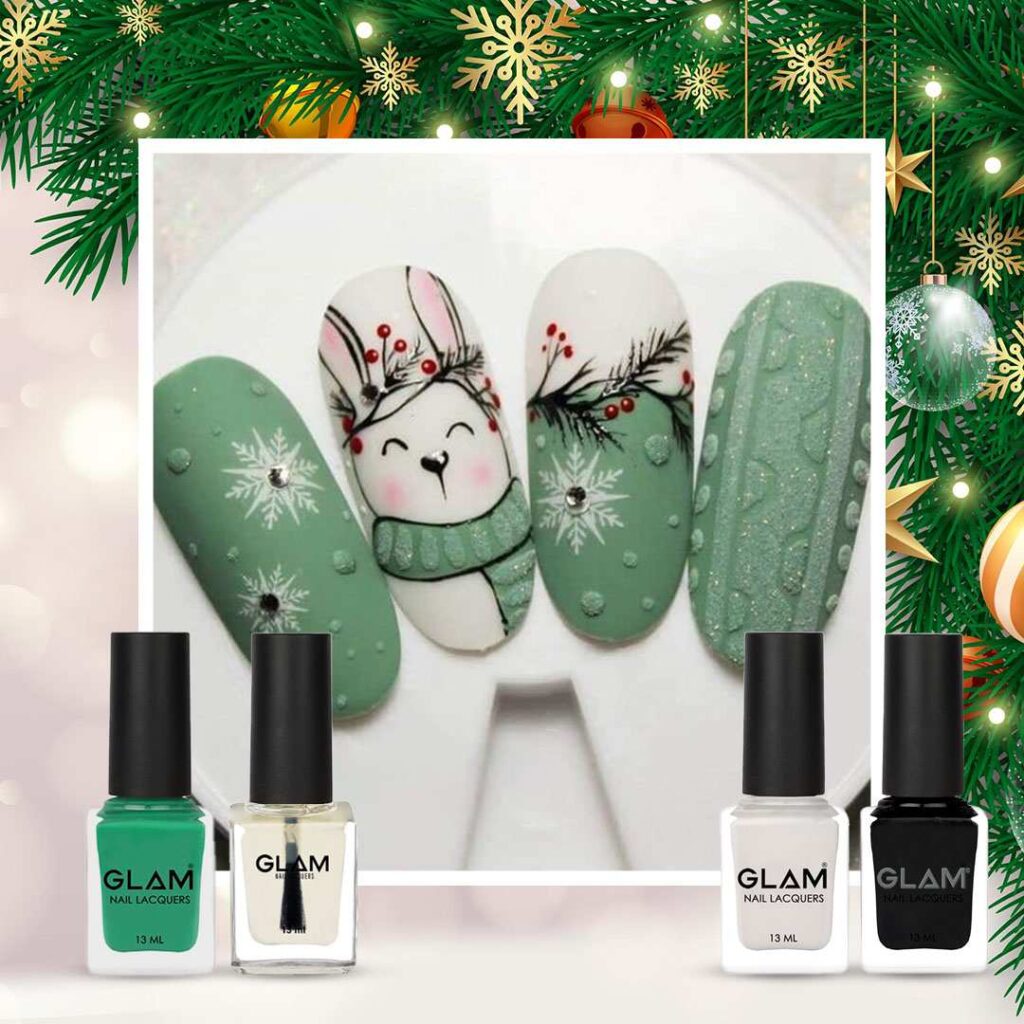
Hand Painted Christmas Nails
This variation on the classic Christmas colour scheme is fantastic. For this joyful look, be inspired by the vivid minty snowman.
What will you need:
1. Glam Gel Polishes
2. Glam Top Coat
3. Glam Painting Gel
4. Glam 3D Powder
5. Glam Rhinestones
Steps
1. Use GLAM Gel Polish in the colours Green and White to paint your nails.
2. To give the nails a puffed-out appearance, sprinkle some 3D Powder on them.
3. Use GLAM Painting Gel to create a snowman design.
4. Use the GLAM Dotting Tool to add some red dots to it.
5. Draw a snowflake pattern on the fingernail.
6. Use stones to adorn your fingernails.
7. Use GLAM Top Coat to protect the artwork.
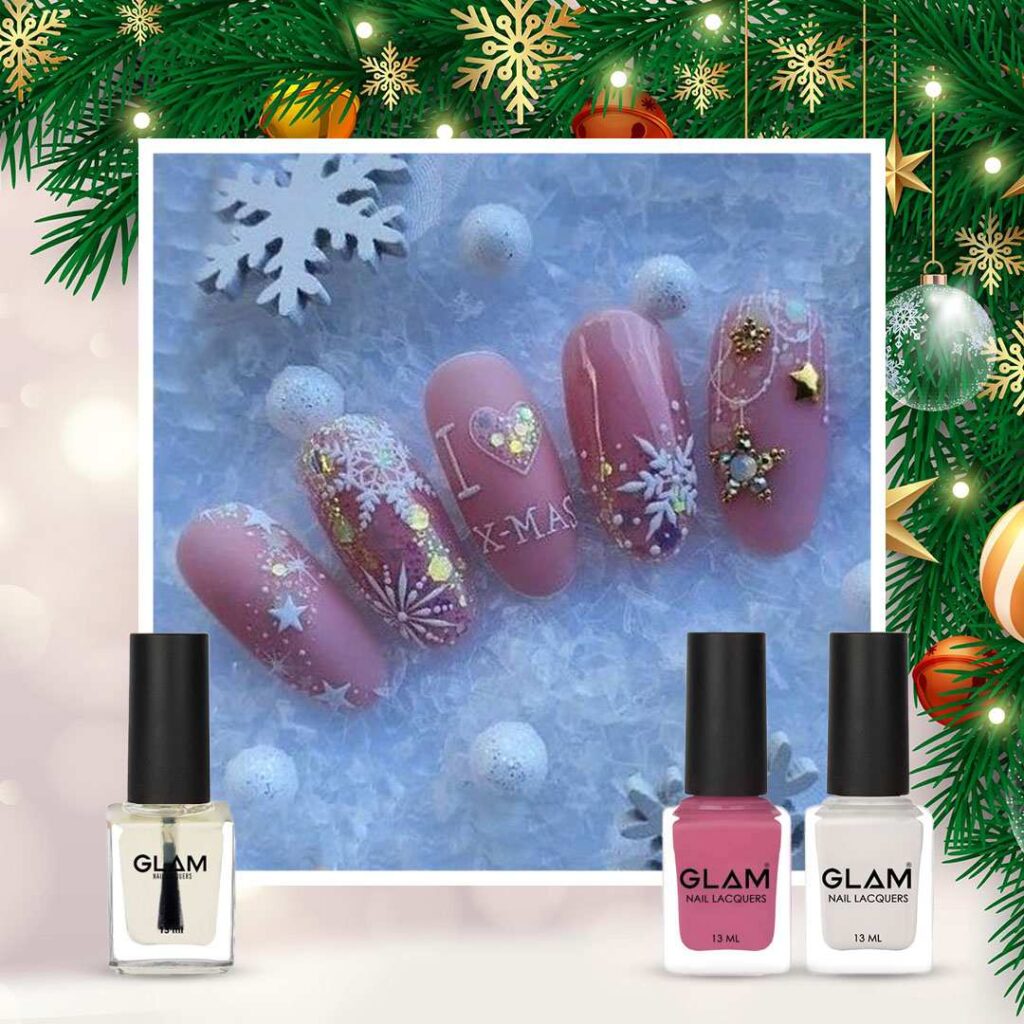
Simple Snowflakes X-Mas Nails
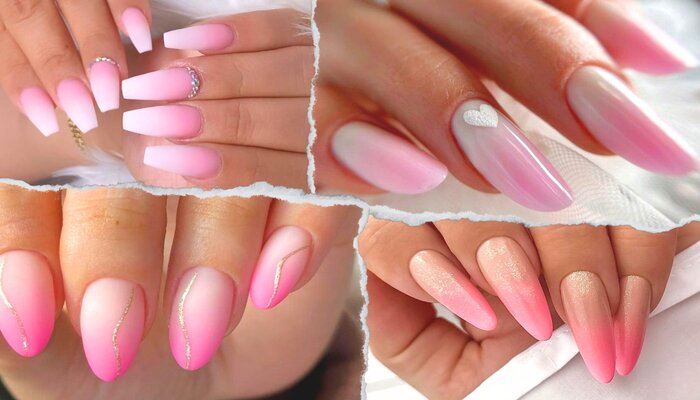
This pattern is a creative way to celebrate the season. Let your pink nails shine through golden stars and white snowflakes instead of plain nails. Just enough shine is added by the delicate glitter.
What will you need:
1. Glam Gel Polishes
2. Glam Top Coat
3. Glam Painting Gel
4. Glam Chrome Powders
5. Glam Glitter Powders
6. Glam Mylars
7. Glam Rhinestones
Steps
1. Use GLAM Gel Polish in the colour pink to paint your nails.
2. Apply GLAM Chrome Powder to each nail using an applicator.
3. To create star patterns, use GLAM Glitter Powder.
4. Create a snowflake, X-Mas, and stars design on the nail using Glam Painting Gel.
5. Use stones and Mylar to decorate your nails.
6. The artwork is finished by applying GLAM Top Coat.